Showing posts with label Revlon. Show all posts

Thursday, December 5, 2013

Neon Waterfall Nails

Man I am a horrible blogger *hangs head in shame* I'm not going to make any promises about the future. I am going to try and get myself to post more, but I guess it will happen when it happens. So on to my nails...

I've been seeing "waterfall" nails for awhile and I finally decided to give it a try. Here is my inspiration:

The Nailasaurus seems to have started this look, I may be wrong but I still love it. If you click the picture it will take you to all of her Waterfall nails and a tutorial. 

Here is my try at it, but first please excuse my dry and ugly cuticle and I missed a little bit of clean up. It was late when I was doing them and I was tired. Please forgive me my sins lol. Ok here goes:

 For the base I used Sinful Colors "Skylark" it is a great polish. The formula was smooth and almost totally opaque in one coat. I did two for good measure.I really like the color, I'm not really sure how to describe it, but I don't like I really have anything else like it in my collection.

  
 Using a striping brush I went through the colors I had picked out and placed random strokes on each nail.

 After I had used each color I went through them again to fill in any gaps I had. The polishes I used were:

 China Glaze "I'm With The Lifeguard" One of my favorite neon greens.

 China Glaze "Hanging In The Balance"

 Essie "The Lace Is On" This is a BEAUTIFUL purple polish. I just loved it even just seeing it as a few strokes on my nails.

 China Glaze "Pool Party"

 Revlon "Hypnotize"

 Sinful Colors "Glimmer"

 After I finished I decided to add a coat of "Northern Lights" topcoat because I love sparkle :)

 All in all I like how it turned out. Both hands turned out a little different. /\ my right hand
\/my left hand
 I like my right hand a little better because I made the stroke a bit longer. The left hand looks like too much of the base color is showing.

I really like how this turned out and I plan on trying it again in the future with different colors. Make sure to check out The Nailasaurus's blog to see some great nails!

Thanks for reading and I hope to post again soon.


Wednesday, January 16, 2013

Pink and Purple Gradient

In case you haven't realized by now, I really love gradients. I love doing them. I love how they look. As I love the endless combinations. I can't say I've perfected the gradient, but I think in general mine usually turn out pretty well. So with that said here is my latest gradient!

 I started out with 2 coats of Rimmel London "Pulsating" I really love this polish. The formula was wonderful. The coverage was perfect. The color is beautiful. The second the brush touch my nail I knew I was in love and needed to get a back up :)

 I had second thoughts about doing a gradient since I loved this polish so much, but I knew it was just going to make the gradient even better since it was already so awesome looking.

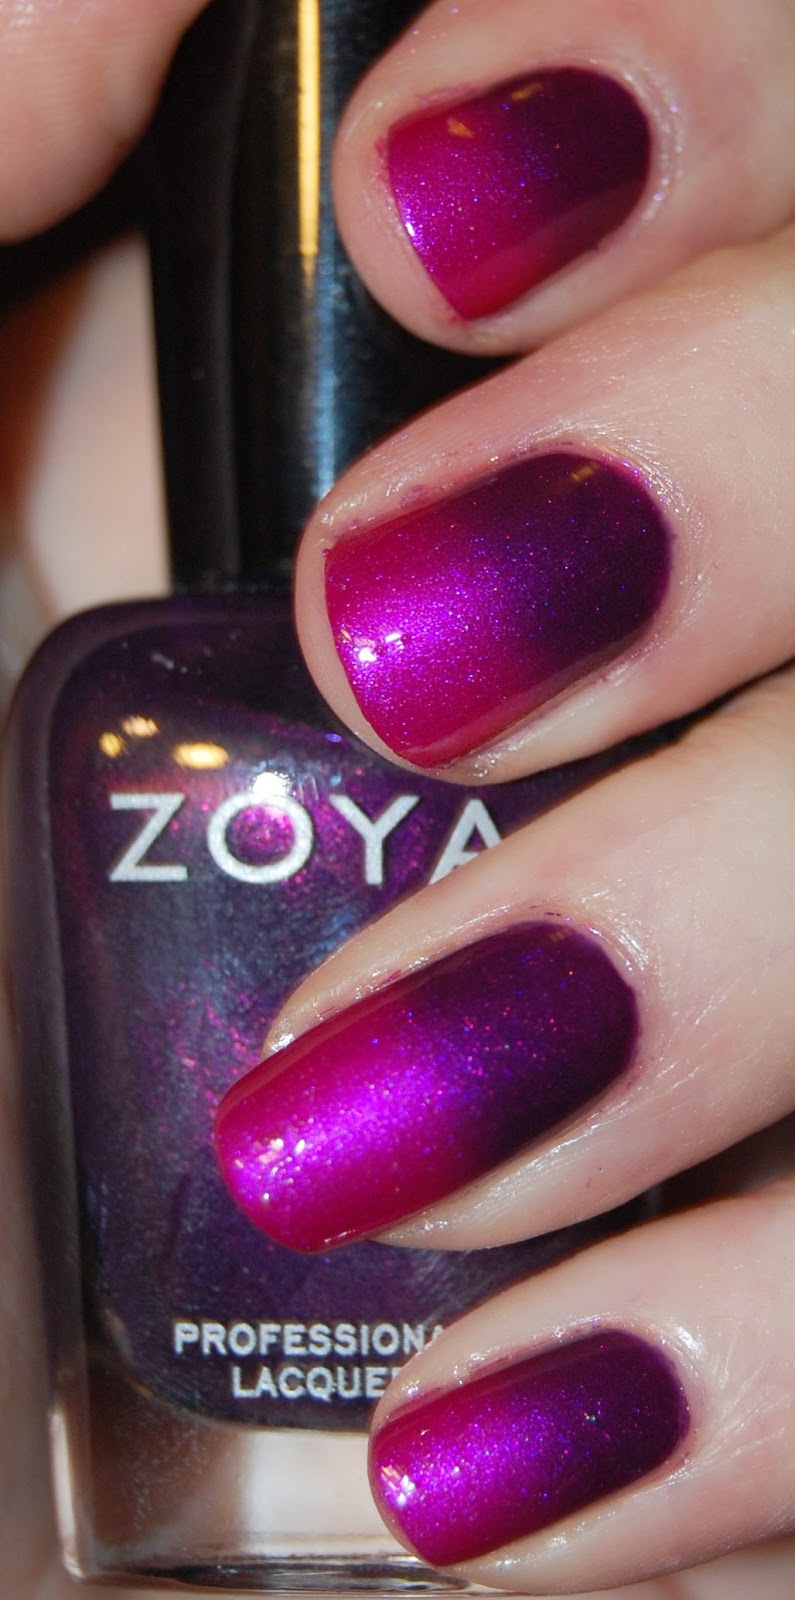
 The second polish I used was Zoya but I don't know the name of it :( at some point the label fell off, or made it was never there. So I'm not sure what the color is, if you think you know please let me know.

 I think these two colors work perfectly together. I love how this turned out.

 This came out perfect. I don't think I could have done it any better.


 Sorry for being kinda spammy... but I just love this mani and I couldn't decide what pictures to use, so I just used them all hehe :) I didn't notice the little bit of polish on my pinky lol so please excuse that :)

 After a day I decided to add an accent nail so I used a polish I was looking for everywhere, and had finally found that day. I added two coats of Revlon "Heavenly" I guess this is a dupe of a Deborah Lippmann "Stairway To Heaven" but I don't own it, but I did find a good comparison here: thekarend


And there you have it. Another post! Oh and I finally hit 600 follower!! Yah! Thanks so much for reading my blog. If you haven't done so already please enter my giveaway.

Wednesday, January 9, 2013

My Just Because Giveaway!

I've been meaning to do another giveaway, and I was going to wait until I reach 600 followers, but I seem to be stock at 570 lol, so I decided to just do it. I want someone to win so I can send someone something to make their day better.

On to the prizes:
The winner will receive Sally Hansen Lustre Shine "Scarab", Revlon "Whimsical" and Sally Hansen Lustre Shine "Lava"

Sorry, but this time around the giveaway is not open internationally, but I promise my next one will. The giveaway ends on 1/31/13. Good Luck!!!

Friday, December 21, 2012

Reindeer and Sleigh... Fail :(

Well if your reading this then the world didn't end. I figured as much. anyways, Today is Reindeer and Sleigh nails. Oh my lord, this was such a fail for me. I tried several polishes for stamping and I had to keep removing the stamping because it didn't want to fully transfer. I wanted it turn out so much different they it did. In the end I figured out what the problem was (needed more topcoat to create an even surface for the stamping), and I just gave up and said F it.

 I started out with 2 coats of Revlon "Coastal Surf" what is a pretty sky blue and the application was wonderful.

 Using a makeup sponge I did a gradient using Sinful Colors "Neptune" which is a darker blue with a silver micro glitter. I should have used darker colors to make it look more like a nighttime sky. Looks more like the middle of the day lol.

 I felt like I need a little something more so I added China Glaze "Snow Globe" to the tips of the nails to look like snow fall.

 I ended up using 2 thick coats of topcoat to even it all out.

 These are the plates I used for the stamping.

 I should have used a darker color for the stamping since you can barely see the stamping :( whomp whomp lol.

 I used Sally Hansen "Silver Sweep" for stamping. I really wanted to add a red rhinestone on the pinkie nail for Rudolph, but I didn't have enough room. whomp whomp again!

Oh No!! the present broke in half... I hope Santa has insurance lol.

So yeh total nail fail. Almost didn't want to post, but they can't all be winners. I think the nail failures are when we learn the most. I learned to make sure that my base is always even before stamping, and I need to find more polishes for stamping lol.

Thank you so much for reading and please make sure to check out the other participating below :) 


Monday, December 3, 2012

Snake Inspired

Today I have mani to how you that I did awhile go. It was inspired by a picture of a snake I found on pintrest. I like how it turned out, and I plan on trying it again soon because I think I can do better.

First off here is my inspiration:
 
Such a pretty color combo. Every time I look at this picture I also laugh a little to myself because he (or she) kinda looks like their smiling :) It's all in the eyes lol.
 
I forgot to take a picture of the base color, but It was just a fleshy color. Is fleshy even a word??? Oh, well it is now!
 The base color is Revlon "Bare Bones"
 
 Over that I did 2 (or 3) coats, I can't totally remember, of Nicole by O.PI. "Yellow It's Me" It is a sheer yellow, with and orange shimmer. I think it's really pretty and that says a lot because I really don't care for yellows. I pretty much only got it because I thought it was different than anything I already had.
 
 I think this polish worked great for this design. Almost perfectly :)
 
 Next I used China Glaze "Riveting" (which is one of my favorite polishes) and sponged it on over YIM.
 
 Lastly, I used a a awesome black nail art pen I got at some cheap accessory store at the mall.
 
 The cool thing about this thing is you can take the little plastic cap off and it's a very fine point and you have to squeeze the bottle, or you can take the whole top off and use it as a striper. For $2.00 each I think it was an awesome find. I bought most of the colors they had.
 
 I like how this turned out and I think next time I do it, it will be much better.
 
 I feel like I really captured the coloring of the snake, and it kinda makes me think of a tiger.
 
 Since it was the first time using the nail art pen it took a little getting use to.
All in all I'm happy with how it turned out.
 
Do you think this looks similar to the source picture? What do you think?
 
Thanks for reading and don't forget to check out my 400 follower giveaway!!

Wednesday, September 26, 2012

Day 26: Inspired By A Pattern

 This was one I had planned for awhile. I've been wanting to try out the this snakeskin technique since I saw it months ago. It didn't turn out the way I hoped but I still like it. I think there is a a need for practice doing this and I plan to do so. My "Inspiration" was my snake Lily:

This picture is over a year old and she is about twice the size. I would have taken a picture with my nails holding her... but she needs to be fed and I don't feel like getting bitten tonight lol.

 I started out with 2 coats of Revlon "Bare Bones" I really like this color and I find myself reaching for it often.
 
 On my ring and pointer finger I painted 2 coats of Essie "Mamba" and I also used it for the scales over "Bare Bones"

 For the 3 middle nails I used Essie "Mink Muffs" for the scales.

 To make the scales I used tulle wrapped around my nails. You can find a few tutorials on youtube on how to do this.
 I think next time I am going to try sponging on the polish instead of painting it on.

 I really like how this turned out and I think it does look very snake like :)

I totally think of my Lily when I look at my nails and I hope to be able to perfect this technique in the future.

Thank you for reading and I hope you check back tomorrow to see my nails inspired by artwork... not sure what to do lol.