Showing posts with label french tips. Show all posts

Tuesday, November 20, 2012

Dotting Nail Fail...

When I did the 30 day challenge a few months ago I fell in love with dotting. I decided to try dotting with 3 colors. It looked so much better in my head then it turned out. I figured since this is my blog and I love posting successes, but I think it is good to also posts failures. It shows everyone that no one is perfect and sometimes it just doesn't turn out lol.
 
So for your viewing (or laughing) pleasure:
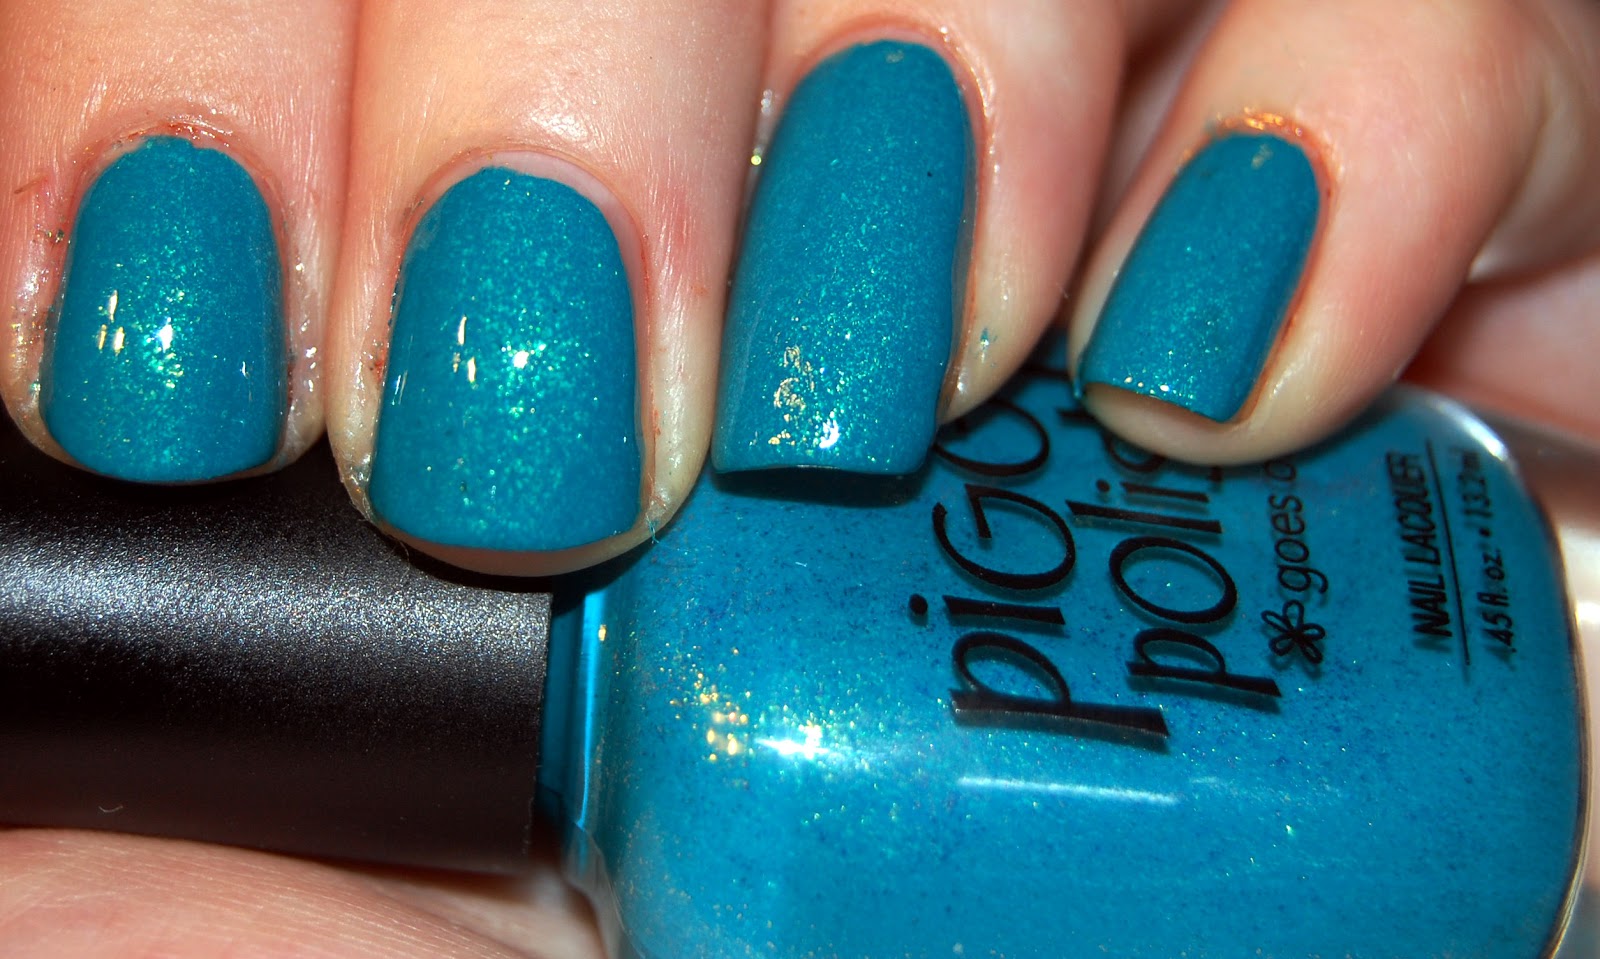
 
 I started out with 2 coats of Piggy Polish "Never Hide"
 
It's a pretty teal with a golden shimmer.
 
I then used Essie "Butler Please" and Essie "Beyond Cozy" to do the dotting on the nails.
 
 After the dotting I decided to do a french tip using the same polishes.
 
 
Please excuse the random "strands" I have no clue where they came from... but anyways, I just don't like how this turned out lol. It was a learning experience. I think the problem was that the colors I used didn't contrast enough. They kinda just blended together, and then the glitter just looks out of place. Oh well. Live and Learn!
 
I am happy to announce that I have just reached 400+ followers today, which means it's time for my next giveaway. My current one is still running so if you haven't entered yet please make sure to do so here:
I will be putting up the new giveaway either tonight or tomorrow. I'm really excited. I'm trying to decide if I should have 2 winners or just 1??? What do you think?
 
Thanks for reading and make sure to watch for the 400 follower giveaway!!!

Friday, October 28, 2011

Mom's pick

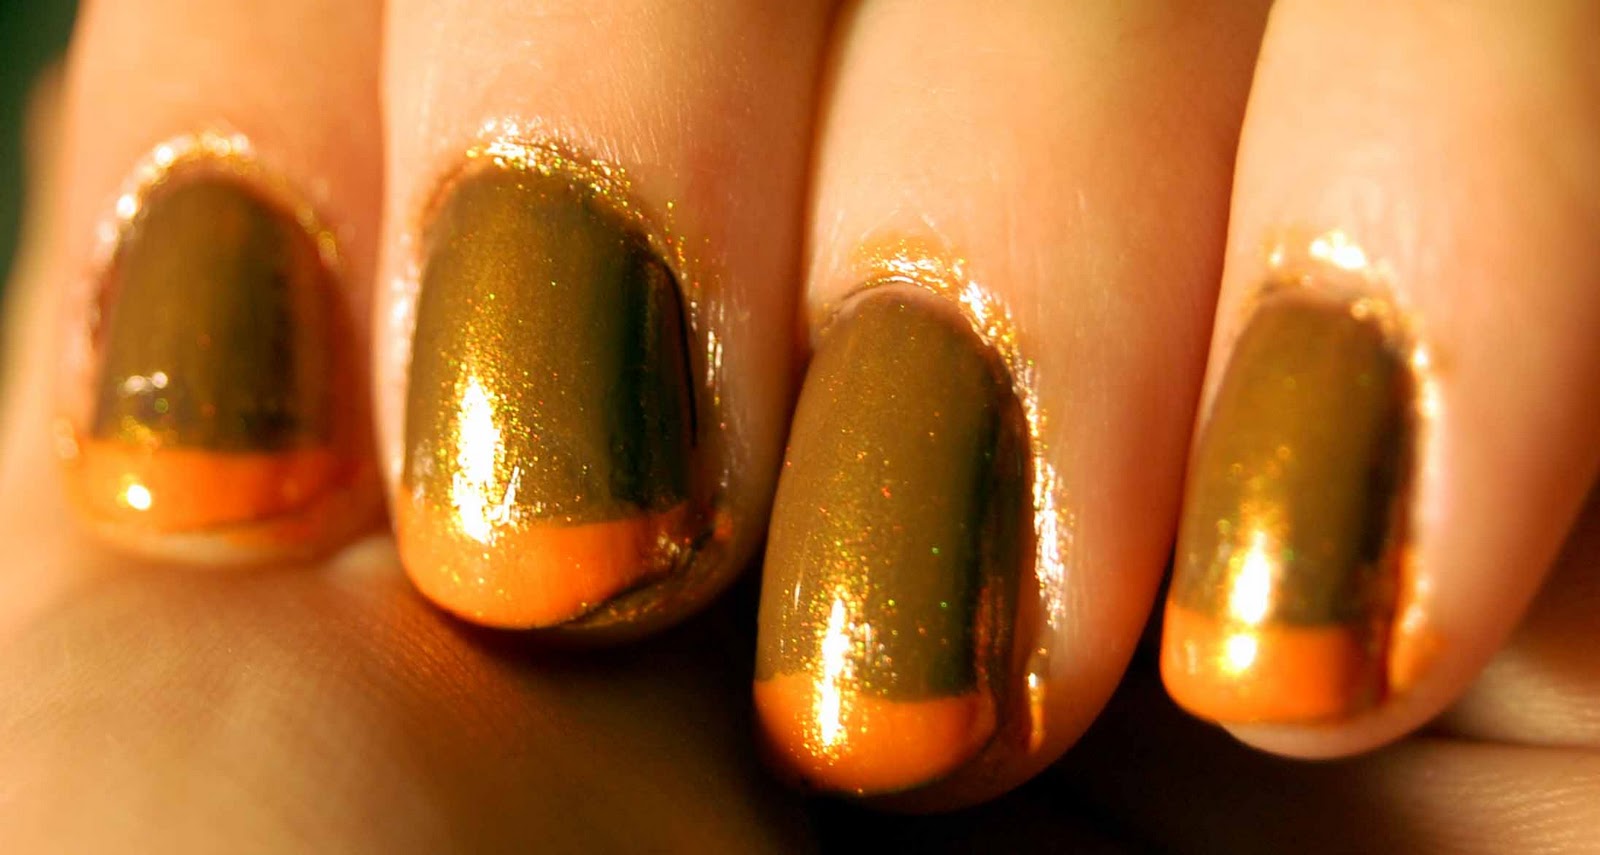
Once again I had no idea what colors to use on my nails so I asked my mom :) She suggested I do something holloween-ish, so she chose brown and orange. As I was looking for polishes I realised I have barely any browns or oranges. So I had to use what I had, but I also made a mental note to keep an eye out for more oranges and browns.
Sinful Colors "Nirvana", WNW "Sunny Side Up", and Sinful Colors "Cloud 9"
I ended up using 2 coats of Sinful Colors "Nirvana" for the base,


 2 coats of WNW "Sunny Side Up" for the tips and then I topped it all off with 1 coat of Sinful Colors "Cloud 9".

  "Cloud 9" is a very sheer color, but it is sooooo pretty. I tried to capture the sparkle this color has. I used a thin coat to give my nails a little bit of a sparkle to them. The brown just didn't look right until I put this color on. Very glad I did.

My original idea was to try and do some sponging......... it turned out horrible... twice!!! lol so those pictures have been destroyed to leave to evidence of the epic fail they were lol. After that I decided to just go a bit simpler so I went to my old faithful mani :) I didn't realise how sheer "Cloud 9" was until I did this mani. I like the overall look that was my end result.

Like most of my mani's I wore this for 2 days. My next post shows a dupe I found for a polish I've really been wanting... but you will have to wait.. Thanks for reading and don't forget to follow my blog! Please leave any questions or comments you have below.

Wednesday, October 26, 2011

Picked by my Fiance... and another franken!

I never know what color(s) to paint my nails so I normally ask my mom (who lives downstairs from me) or my fiance, Jody, for color suggestions. Well it was Jody's turn and he said "bright green with pink tips" You may not know this about me but I LOVE green and I could care less about pink. I do have a couple pinks though. I wasn't really excited about his choice but I did it any ways..... and honestly, I'm really glad I did. I love how it turned out. The colors worked really well together. Ok on to the pictures :)

I don't know why but I forgot to take a picture of the green base color. For the base I used 2 coats of Essence "Lime Up", The pink was an L.A. Colors polish but it doesn't have a name If I ever figure out the name of it I will make sure to update this post   :(.... but until then...
I did the tips free hand instead of using guides. I just wanted to see how how I could do without them.... I think I need to keep using lol. I used two coats of the green, one coat of SV, two coats of the pink and another coat of SV.

Also since I love my new and very first Nubar I had to give it a try on this mani. I used 1 coat of Nubar 2010

The effect the Nubar 2010 had on the lighter colors is much different then when it is used on darker colors.

Next up is a franken I made. It doesn't have a name yet so if you have any ideas please let me know.

 i pretty much just poured in a little of every glitter polish I had and some loose glitter for more sparkle :) You can never have too much glitter, there is no such thing!!!

 This is 2 coat of my un-named franken
 
 It reminds me of a few other polishes I've been seeing on another blog:

This is Deborah Lippman "Happy Birthday" from Lacquered Lover's Blog, The glitter in my polish is smaller but they do look a bit alike.

Also from the same blog is Milani Gems:

Well that's it for today. Please leave any comments you may have below :) Thanks for reading and please check out Lacqueres Lover's blog !!!

Tuesday, October 11, 2011

It's Alive!!!

I really wanted to do something with China Glaze "It's Alive" instead of just putting it on plainly lol. I decide to kinda attempt a half and half. Please keep in mind that I'm not a really arty person so I'm doing the best I can lol.

I was going through my polishes the other day and I found a nice light green from the Icing called "Uncommitted" I think this was 3 coats. It has a very lite shimmer to it, but pretty.
For the divide I used my "perfect tips" and tried to put it about half way up each nail, please don't make fun of my loner pinky lol, for some reason it doesn't play well with others :)


I then added a thick coat of "It's Alive" on the upper half of the nail.
I just love this polish, lots of glitter and I love green, the glitter seems to be a mix of both greens and golds of different sizes so it looks like it's shifting colors a litte hence the alive part I guess.

I decided to give the "Goulish Glow" a go too
These pics were before I cleaned up my nails so please excuse the mess. The glow polish did lighten the look of "It's Alive" a little but not too much, not enough to warrent much concern.

 I was able to get some glowing pictures :)


I thinks it's kinda cool that you can tell were the polish colors are different. I was trying to find my blacklight to charge the glow polish, but couldn't find it any where.. sorry :(

I hope you enjoyed. Please leave me any comments you may have. Thanks

Friday, October 7, 2011

Milani 3D Holographic - Hi-Res

I've been seeing swatches of the Milani 3D holographic polishes and I love green so I had to pick it up. I'm so glad I did. I plan on getting the rest of the colors because they are just so awesome. I wanted to do somethign other than just a plain nail so I decided to try out a new product I found called nailene Perfect Tips


 I'm not very good with nail art so any I will take any help I can get. I don't have the most steady hand either. I decided to do a black tip since I had a polish that has the same holographic-ness to it.


So the two polishes I used were: Milani "Hi-Res"
                                                     Icing "Blackout"


You can really see all of the colors in these polishes

So I used "Hi-Res" as my base coat, I did two coats to make sure the color was even on all nails.
I am inpatient so I didn't wait as long as I should have to apply the french tip guides. Some people say to wait at least 30mins for the polish to dry... I didn't lol.

The guides are very sticky so I stuck them to my hand a few times to get them a little less sticky. I did mess up one nail when I pulled the guide off, it took my polish right off. The guides are simple to use.


I had to try fix a couple of my nails, but they still turned out nice. Some of the lines are a little messy, but again that is due to the fact I was not being patient and taking my time.

Please excuse the ooppsies, I took the pictures before I cleaned up...

They look even better in the sun, I will try to take another picture tomorrow before I take it off... Please let me know what you think... Thanks :)